Generate Reports
- To Generate Reports, click either of these Icons in your Home/Dashboard.
A.) Report Card
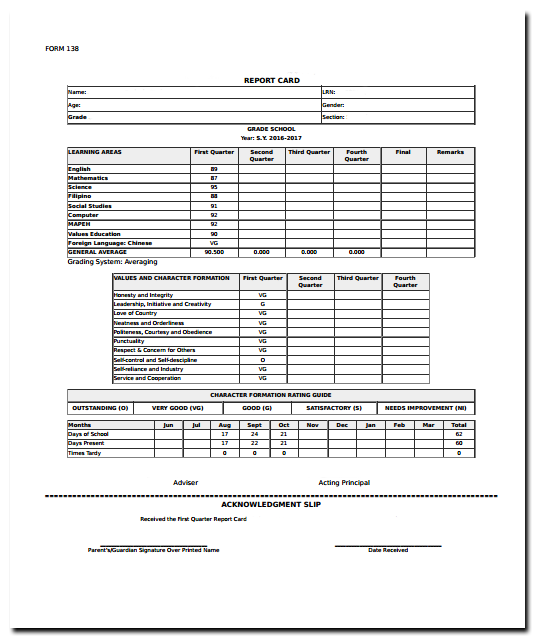
To view a Report Card, click the "Report Card" Icon on your Home/Dashboard.
Input the School Year, Grading Quarter, and Section. After inputting the necessary values, the table will populate.
To print a report card, click "Menu" _and choose "Print". A new window (or tab if Google Chrome) will appear. (You may also click "PDF", make sure to set the orientation to "Portrait"_.

- On the new window (Print or PDF) you may now print the report card by pressing Control+P on your keyboard (or the Printer Icon if you chose PDF).
B.) Master Sheet
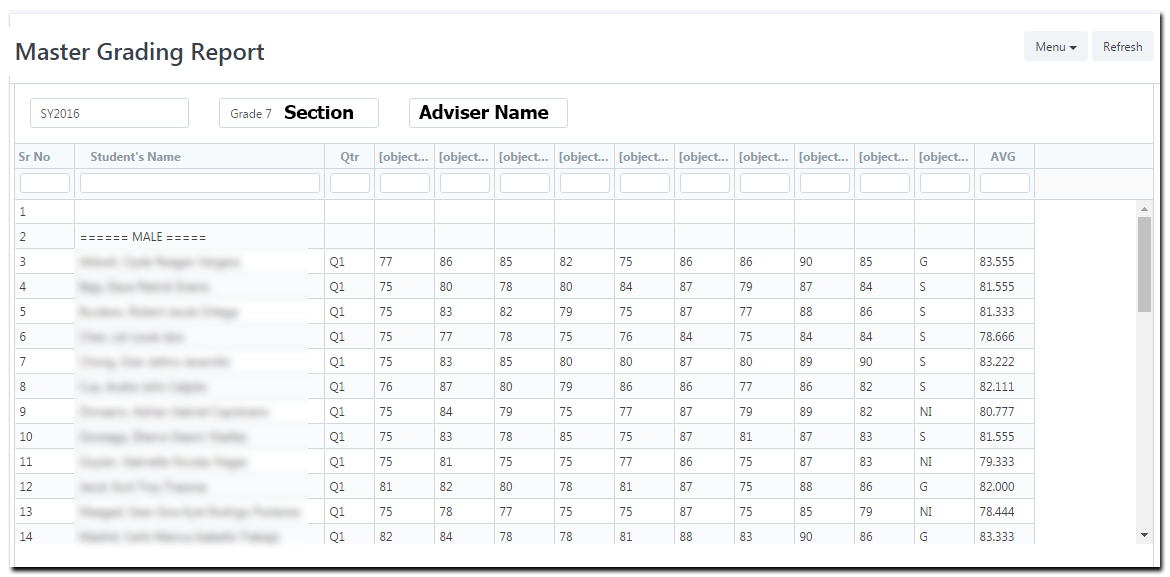
- To generate Master Sheets, click on the "Master Sheet" Icon on your Home/Dashboard. (Master Sheet SHS if Senior High School)

- Type in the name of the Section you want to view. The Adviser Name will automatically display after choosing a section. The table will be populated with data once the section has been choosen.

- To print the Master Sheet, click "Menu" _on the upper right corner of the page, a drop down box will appear. Click "PDF" and choose "Landscape"_ for the orientation
- To print the PDF file, press Control+P on your keyboard, or click on the Printer Icon on the window
C.) Attendance
- To view the Student's Attendance Report, click "Student Attendance" icon on your Home/Dashboard.
- Fill in the necessary information: School Year, Grading Quarter, and Grade level.
Note: For No. of Absences and No. of Tardiness - you may leave it as is (100) to view all students with absences and tardiness. Set it to 0 to view all the students with perfect attendance.
- If you chose to set the no. of absences and tardiness to 0, click the "Report" button, and a dropdown box will appear. Press the "Generate" button and the attendance table will refresh and show only the students with perfect attendance.

- To print the Student Attendance Report, click "Menu" on the upper right corner of the page, a drop down box will appear. Click "PDF" choose "Landscape" for orientation.
- To print the PDF file, press Control+P on your keyboard, or click on the Printer Icon on the window.
D.) Student Ranking
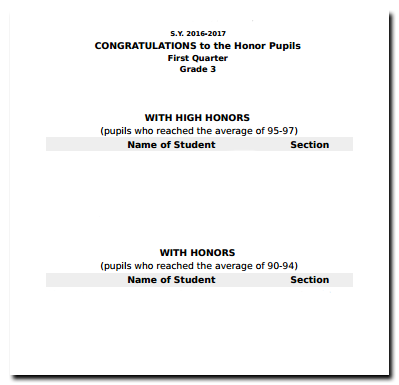
The purpose of student ranking is to view and rank the students who got high grades/honors.
To view Student Ranking, click _"Student Ranking" _icon on your Home/Dashboard (Student Ranking SHS for Senior Highschool)
Fill in the necessary information: School Year, Grading Quarter, Grade Level and the Grading Criterias
Grading Criteria - There are three different grading criterias to determine the student ranking
Lowest final average - in this case, the student needs to get at least 90 or higher in his/her final average grade.
Lowest grade per subject - in this case, the student needs to get at least 85 on all his/her subjects (e.g a student with a grade of 84 on English will not become an honor student.
Lowest Letter grade - this applies on subjects that use letter grades. In this case, the student needs to get at least a grade of G or higher.
Don't Show Numbers and Ignore Conditions
- If you check the "Don't show numbers" check box, the report will only display the names and sections of the students.
- If you check "Ignore Conditions" check box, the report will include to display the students who don't have honors or did not pass the criteria for being an honor student.

- To print the Student Ranking Report, click "Menu" on the upper right corner of the page, a drop down box will appear. Click PDF and a new window will appear.
- If you intend to print a report for posting of honors, click "Don't show numbers", set the orientation to portrait.

- To print the PDF file, press Control+P on your keyboard, or the printer icon in the PDF window.
E.) Certificate
- This is to extract data from the reports mentioned above (Honors from Student Ranking/Perfect Attendance from Student Attendance Reports).
In the Student Attendance Report page, in order to extract data for students who has a perfect attendance you need to:
1.) Make sure the No. of Absences and Tardiness is set to 0
2.) Set the day of the certificate distribution here
3.) Set the month of the certificate distribution here
4.) Click Menu
5.) Click Export. A .csv data will be downloaded. This is the extracted data you need
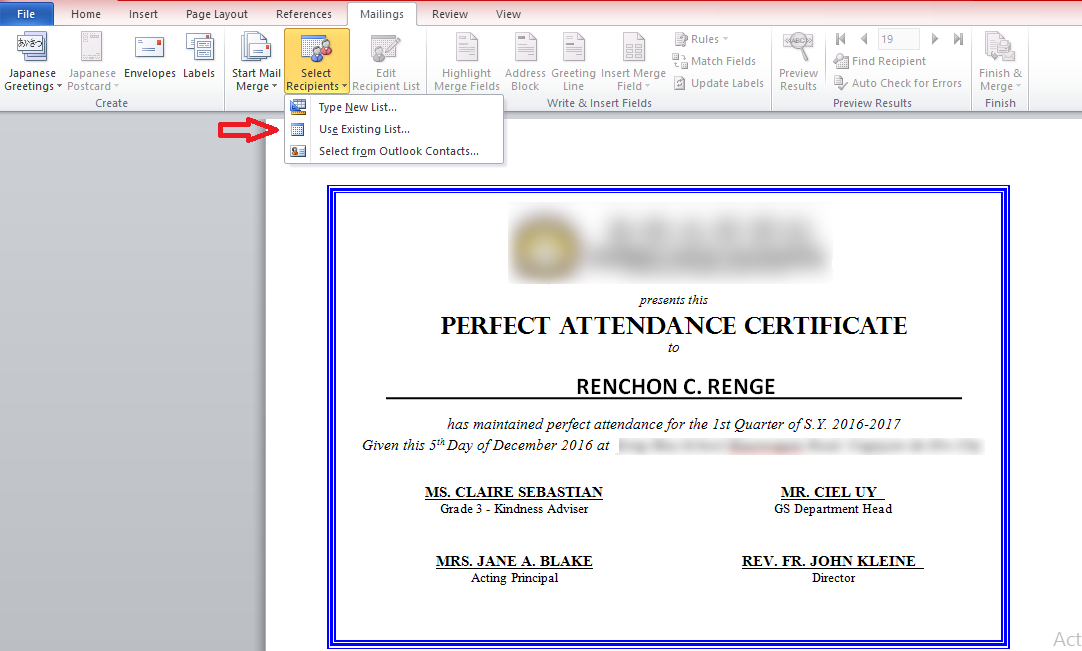
Open your certificate template (.doc/docx)

- From here, go to Mailings > Select Recipients > Use existing List.
- Look for the csv file you downloaded.
- After choosing the csv file, the template will automatically fill in the needed information.
- To print the certificate, Press Control+P on your keyboard.